Pa kimchi, or scallion kimchi, is a vibrant and flavorful Korean side dish that's surprisingly easy to make at home. Unlike its cabbage counterpart, pa kimchi offers a quicker fermentation process, resulting in a deliciously snappy and less intensely spicy kimchi ready in just a few days. Its bright green color and refreshing taste make it a perfect accompaniment to grilled meats, rice bowls, or even enjoyed on its own as a flavorful snack. The slightly sweet and tangy profile of this kimchi comes from a balance of gochugaru (Korean chili flakes), gochujang (Korean chili paste), and other essential ingredients that will be outlined shortly.
This addictive recipe offers a simplified approach to making authentic pa kimchi without compromising on flavor. Ready to dive into the world of homemade Korean side dishes? Let's get started with the step-by-step instructions to create your own batch of incredibly delicious Pa Kimchi.
Tools Needed
- container for soaking green onions
- baking tray
- plate
- blender
- large mixing bowl
- kimchi container (4.5L)
- plastic wrap
- microplane
Ingredients
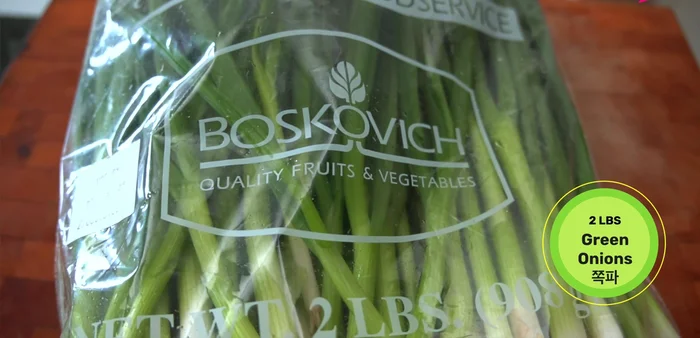
- green onions (scallions): 2 lbs
- hot water: 1 cup
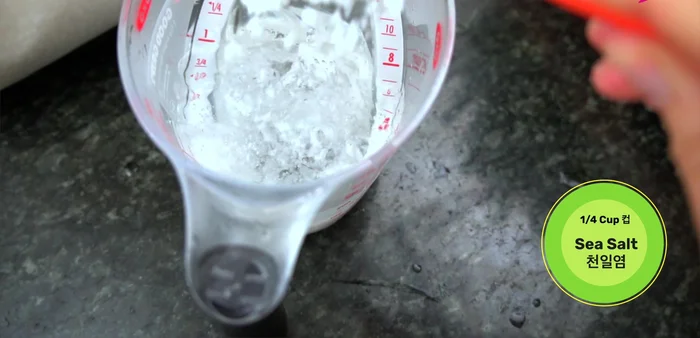
- coarse sea salt: 1/4 cup
- cold water: 1 cup
- dried anchovies: 4g
- Korean rice: 75g (or 75g cooked potato)
- dried sea kelp (dashima): 3-4 small pieces (approx. 3g)
- small apple (with skin): 1/2
- medium onion: 1/4
- Korean radish: 80g
- garlic cloves: 6-8
- salt-fermented shrimp (saeujeot): 1 teaspoon
- freshly grated ginger: 1/2 tablespoon
- fish sauce (myeolchi jeot): 1/3 cup
- plum extract syrup (meoch): 1/3 cup (or agave/honey diluted with water)
- gochugaru (Korean chili flakes): 1 cup
- finely ground gochugaru: 1/4 cup (optional)
Step-by-Step Instructions
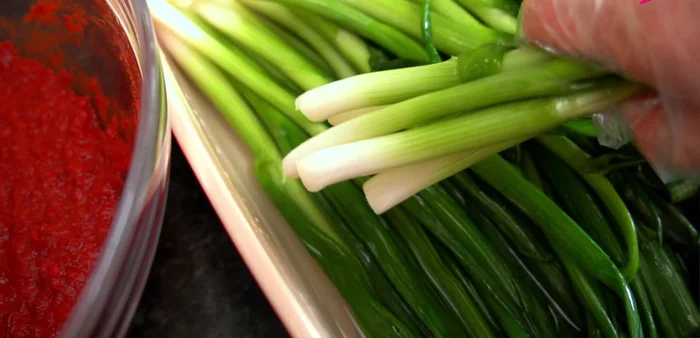
Step 1. Prepare Green Onions and Brine
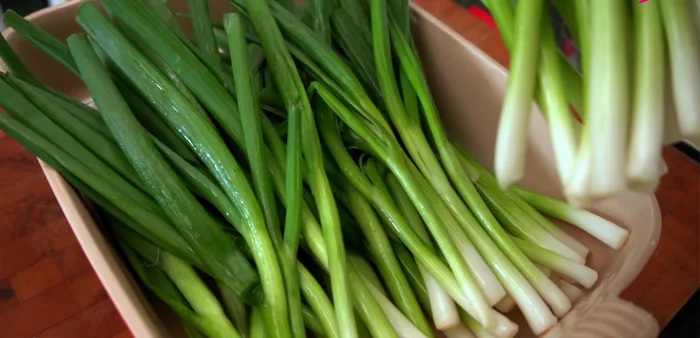
- Cut off root ends, trim bruised parts, and rinse thoroughly in cold water. Place them upside down in a container, root ends submerged in water.
- Dissolve salt in hot water, then add cold water. Pour brine over green onions, ensuring the white root ends are fully submerged. Let it sit for 30 minutes to 1 hour.
- After 30 minutes, remove green onions from brine, place them on a baking tray, and pour the brine over the green parts. Weigh down the green parts with a plate for 15 minutes to 2 hours, mixing halfway through.
Step 2. Make the Kimchi Paste
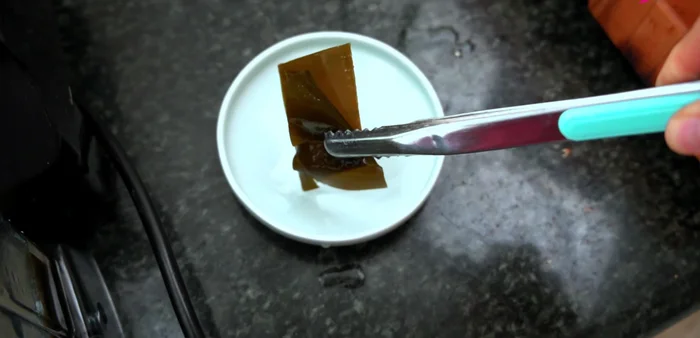
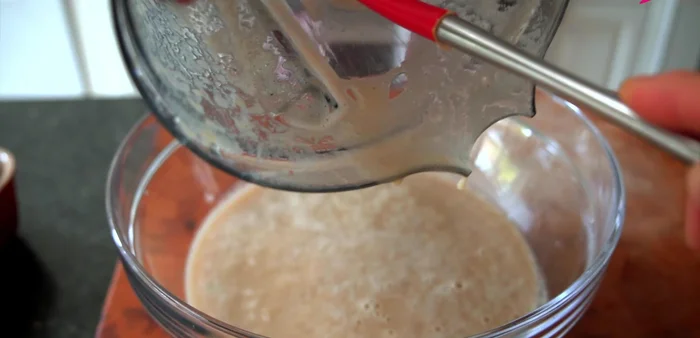
- Add anchovies (remove intestines if using larger ones), rice, sea kelp, and hot water to a blender. Let it soak for 30 minutes.
- Remove sea kelp (discard or eat as a snack). Blend the soaked rice and anchovies until liquefied. Add apple, onion, radish, garlic, saeujeot, ginger, fish sauce, and plum extract syrup to the blender. Blend until smooth.
- Pour the blended mixture into a large mixing bowl. Add gochugaru and optional finely ground gochugaru. Mix until the white starch disappears. Let it rest for 5-10 minutes for the color to brighten.

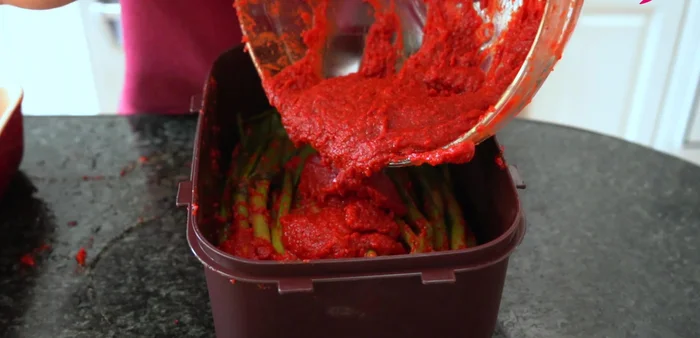
Step 3. Assemble and Coat the Kimchi
- Dip each bunch of green onions into the kimchi paste, ensuring the firm white parts are fully coated. Gently squeeze to mix. Pack into a kimchi container.
Step 4. Ferment the Kimchi
- Pour remaining kimchi paste over the green onions. Clean the rim of the container. Cover with plastic wrap, then the lid. Let it rest at room temperature for 2-4 days (depending on temperature), then refrigerate for at least 6 weeks.
Read more: Bibimbap Recipe: Delicious Korean Mixed Rice & Vegetables
Tips
- Use Korean gochugaru for authentic flavor. Do not substitute with other chili flakes.
- The longer the kimchi ferments, the tastier it becomes; at least 6 weeks is recommended, but 3 months is ideal.
- For optimal taste, serve Pa Kimchi with grilled pork belly, wrapping them together with rice.
Nutrition
- N/A
FAQs
1. How long does Pa Kimchi last?
Stored properly in the refrigerator, Pa Kimchi will last for about 1-2 weeks. The flavor will deepen over time.
2. Can I adjust the spiciness level?
Absolutely! Reduce or increase the amount of gochugaru (Korean chili flakes) to control the heat level to your preference.
Enjoy your homemade Pa Kimchi! Its bright, fresh flavor will elevate any meal, and the satisfying crunch is simply irresistible. Now go forth and share your delicious creation with friends and family – they'll thank you for it!