Hard cider, a refreshing and naturally fermented alcoholic beverage, offers a delightful alternative to traditional beers and wines. Made from apples, its flavor profile ranges from crisp and dry to sweet and subtly tart, depending on the apple varieties used and the fermentation process. This versatility makes hard cider a captivating drink for both seasoned beverage enthusiasts and curious newcomers alike, with a history stretching back centuries. The rich tapestry of flavors achievable through different apple blends opens a world of exploration for the home brewer.
From choosing the perfect apples to bottling your finished product, creating your own hard cider at home is a rewarding experience. This step-by-step guide will walk you through each stage of the process, offering helpful tips and techniques to ensure a successful and delicious outcome, no matter your level of experience. Get ready to embark on a journey of fruity fermentation and discover the satisfying art of crafting your own unique hard cider.
Tools Needed
- Carboys
- Airlocks
- Caps
- Funnel
- Sanitizer (e.g., Star San)
- Refractometer
- pH reader
Ingredients
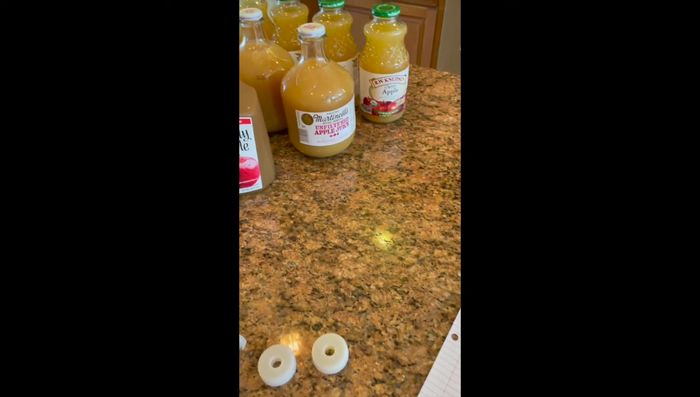
- Simply Apple Juice
- Martinelli's Unfiltered Apple Juice
- RW Knudsen Apple Juice
- Potassium Metabisulfite
- Yeast
- Pectinase (optional)
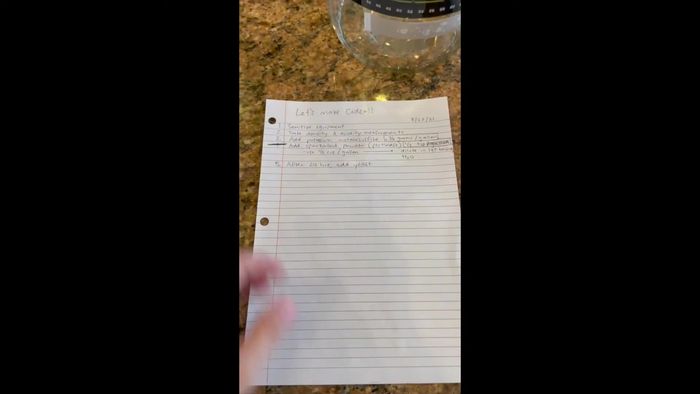
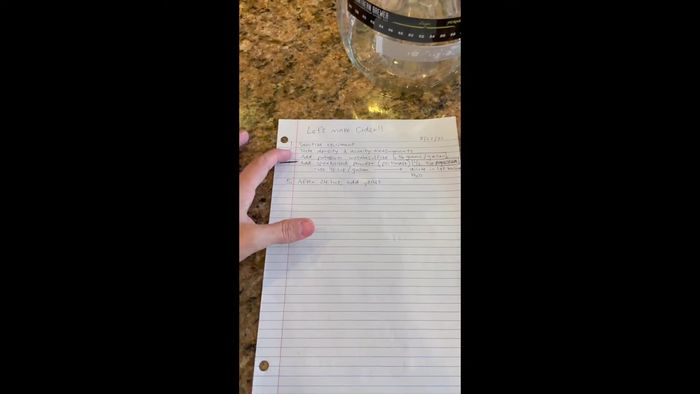
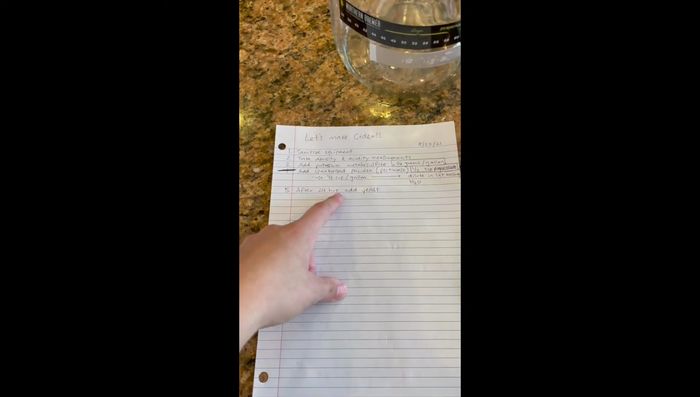
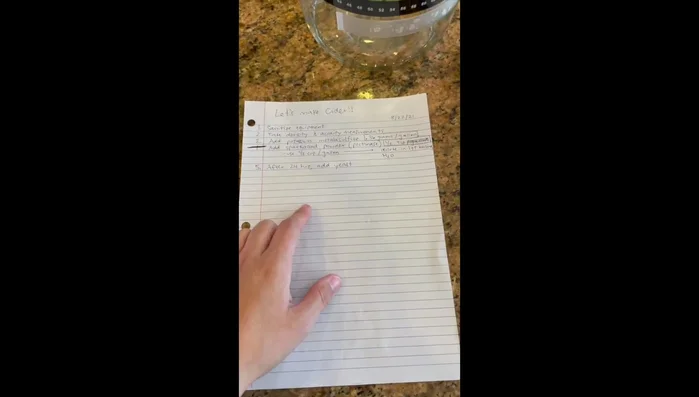
Step-by-Step Instructions
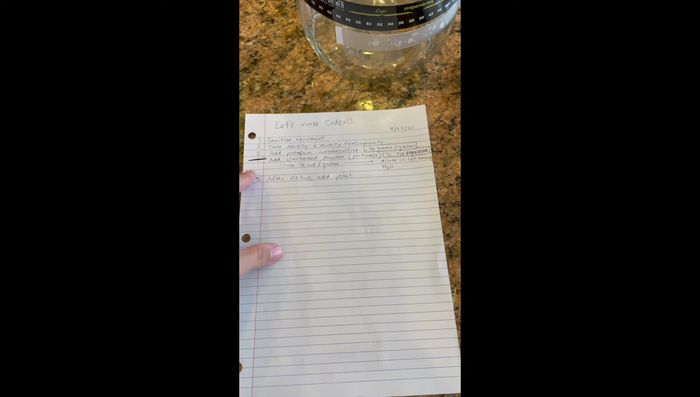
Step 1. Prepare the Apple Juice and Equipment
- Sanitize all equipment.
- Measure the density and acidity (pH) of each apple juice using a refractometer and pH reader.
- Add potassium metabisulfite to the juices.
- (Optional) Add pectinase. This step is skipped in this recipe.

Step 2. Fermentation Initiation
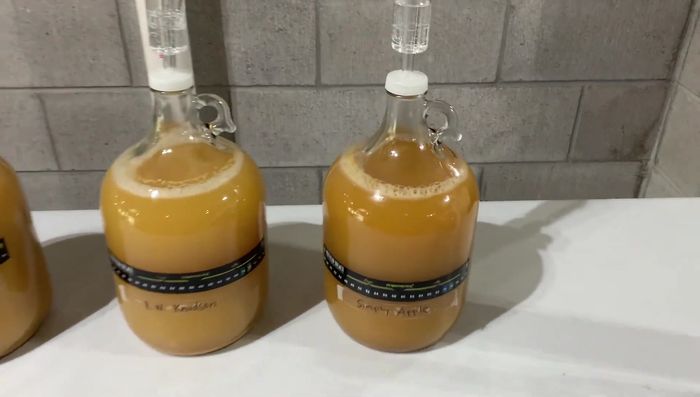
- Fill carboys with the prepared juices. Secure with airlocks.
- Place filled carboys in a cool, dark location for 24 hours.
- After 24 hours, add yeast to each carboy.
Step 3. Primary Fermentation
- Monitor fermentation. Check for bubbles and take readings as needed.
Read more: Oksusu Cha (Korean Corn Tea): A Simple & Flavorful Recipe
Tips
- Use a variety of apple juices for a unique flavor profile.
- Keep detailed notes throughout the fermentation process, including readings and observations.
- The fermentation process may take several days. Monitor the activity and take readings to determine if fermentation is complete.
Nutrition
- Calories: varies*
- Fat: 0g
- Carbs: varies*g
- Protein: 0g
FAQs
1. How long does it take to make hard cider?
The entire process, from pressing apples to bottling, can take anywhere from 4-6 weeks to several months, depending on the fermentation method and desired level of carbonation.
2. What kind of apples are best for making hard cider?
A blend of sweet, tart, and bitter apples is ideal. Using only one type of apple can result in a cider that lacks complexity. Seek out a variety of apples for the best flavor.
Making your own hard cider is a rewarding journey, allowing you to control the ingredients and create a truly personalized beverage. From the initial crush of the apples to the satisfying pop of the final bottle, the entire process is both educational and enjoyable. Now grab your apples and embark on your own cider-making adventure!