Achieve radiant, healthy skin with the age-old Korean beauty secret: rice toner! This simple yet effective concoction, made from fermented or unfermented rice, has been a staple in Korean skincare routines for centuries. Its gentle yet powerful properties soothe irritation, brighten complexion, and minimize pores, offering a natural alternative to harsh chemical-laden toners. Rice toner is packed with antioxidants and vitamins, leaving your skin feeling soft, supple, and visibly improved. Forget expensive store-bought products; creating your own rice toner is surprisingly easy and cost-effective.
This homemade rice toner is a fantastic way to incorporate a natural and effective skincare step into your routine. Ready to unlock the secret to glowing skin? Let’s dive into the simple, step-by-step process to create your own rejuvenating rice toner at home.
Tools Needed
- Spray bottle
- Blender
- Strainer
Ingredients
- Rice: 4 tablespoons
- Water
- Rose Water (optional): a little bit
Step-by-Step Instructions
Step 1. Prepare the Rice
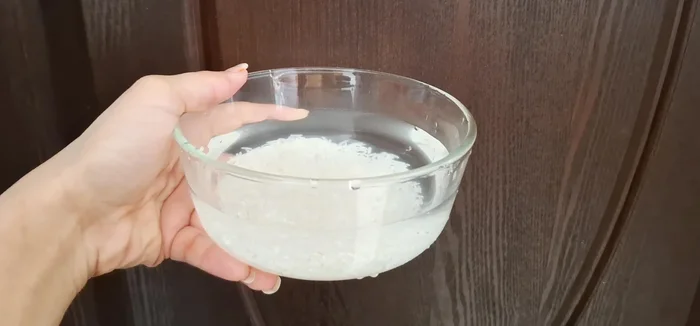
- Wash 4 tablespoons of rice (brown or white) thoroughly 5-6 times until the water runs clear. This removes any dust or smell.
- Soak the washed rice in enough water to fill your spray bottle. Do not overfill.
- Let the rice soak for 5-6 hours. After this time, the rice should have released some of its color.
Step 2. Extract the Toner
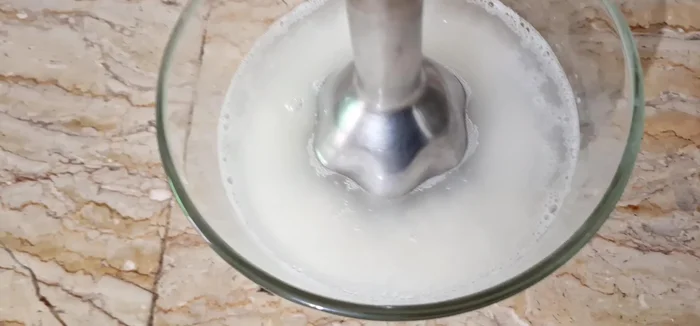
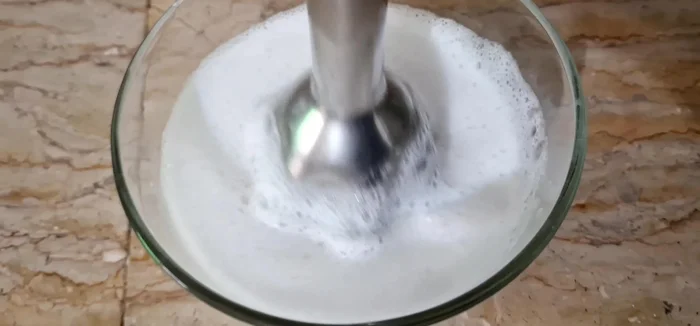
- Gently mash the soaked rice or blend it until smooth.
- Strain the rice mixture through a strainer to separate the liquid from the rice solids.
- Add a small amount of rose water to the strained liquid to reduce any lingering rice smell.

Step 3. Bottle and Mix
- Pour the mixture into a spray bottle. Mix well before each use.
Step 4. Apply the Toner
- Spray the toner all over your face, body, and neck.

Read more: Oksusu Cha (Korean Corn Tea): A Simple & Flavorful Recipe
Tips
- For best results, apply the toner at night and wash it off in the morning, or apply it an hour before showering.
- Avoid direct sunlight after applying the toner, especially in summer.
- The leftover rice mixture can be used as a scrub for dark spots, elbows, knees, and other areas.
- If applying to the face, use gentle scrubbing motions.
- This toner is effective in both summer and winter, especially for dry skin.
- No need for additional creams or moisturizers in summer when using this toner.
Nutrition
- N/A
FAQs
1. How long does homemade rice toner last?
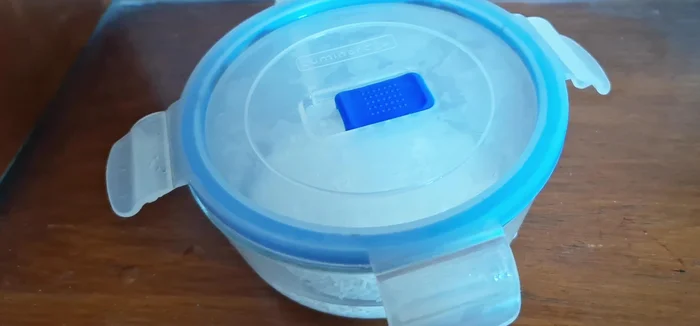
Store your rice toner in the refrigerator in a sterilized container. It should last for about 1-2 weeks. Discard if you notice any unusual smell or discoloration.
2. Can I use any type of rice?
While short-grain rice is traditionally used, you can experiment with other types. Just ensure it's thoroughly rinsed before use.
3. What are the benefits of using rice toner?
Rice toner helps brighten skin, minimize pores, soothe irritation, and improve skin texture. It's gentle enough for most skin types.
Creating your own rice toner is a rewarding experience, offering a natural and affordable path to healthier, more radiant skin. Enjoy the simple process and the visible results of this age-old beauty secret. Embrace the glow!